
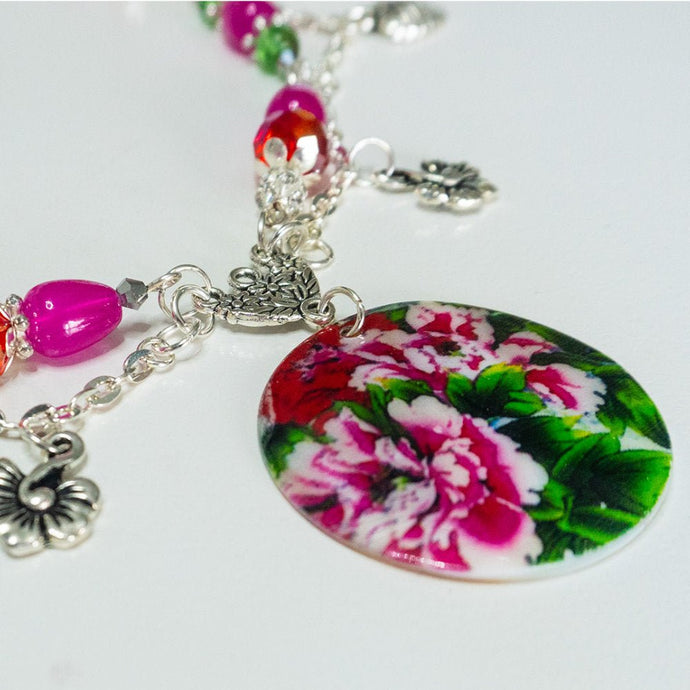
Let's Make Your First Multi-strand Necklace Together
Pearls, pearls and more pearls – let's make some layered pearl necklaces. I am absolutely loving this trend of layered pearl necklaces that I’m seeing at the moment and today I’m going to show you two ways that you can incorporate that into your style.

In this video, I show you how to make two beautiful multi-strand pearl necklaces so you can make a beautiful statement too.
3 Strand Pearl Choker

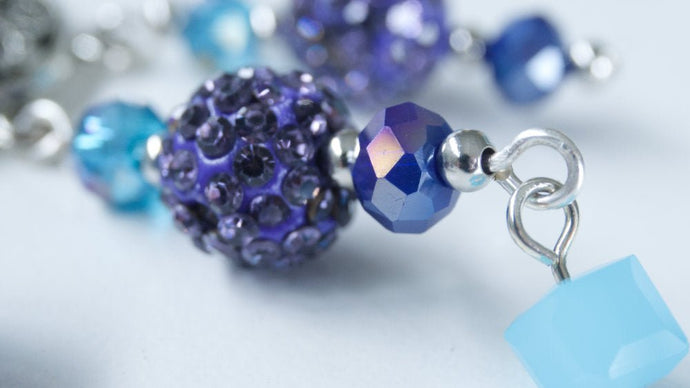
For this necklace I used a half round pearl placed inside a cabochon setting for the focal piece. I then strung different sized pearls to make the piece interesting.
Materials
Click either New Zealand or US to see the product, depending on where you live. If you live outside these regions, let me know and I'll do my best to find you similar products.
- Ornate Pendant Cabochon Setting 31mm x 31mm x 2mm x1 (New Zealand / US)
- Jump Rings Round 4mm x 0.8mm – Silver x2 (New Zealand / US)
- Jump Rings Round 6mm x 1.1mm – Silver x13 (New Zealand / US)
- 3 Hole Rhinestone Spacer Bar 18mm x 6mm x 3.5mm x4 (New Zealand / US)
- Flat Back Acrylic Domed Pearl 20mm x 10mm x1 (New Zealand / US)
- Pearlised Glass Pearl 6mm – Peach x68 (New Zealand / Similar White Pearls US)
- Pearlized Glass Pearls 8mm – Peach x50-80 (New Zealand / Similar White Pearls US)
- Pearlised Glass Pearl 12mm – Peach x4 (New Zealand / Similar White Pearls US)
- Coloured Tiger Tail 0.38mm x 50m - Silver Grey x2.5m (New Zealand / US)
- Tibetan Style Rectangle 3-Strand Link Reducer Bar Connector 17mm x 11mm x 2mm x2 (New Zealand / Similar Product US)
- 304 Stainless Steel Lobster Claw Clasp 12mm x 7mm x 3.5mm x1 (New Zealand / US)
- E6000 Glue (New Zealand / US)
- Plated Brass Wire Guardian 4.5mm x 4mm x 1mm (New Zealand / US) (optional)
After I made this, I realised that it was too big and I removed 5 of the 8mm pearls from each strand. I also added the wire guardians when I put it back together. Below is a picture of the altered necklace.

The finished necklace now measures 37cm. Measure your neck and decide what length is best for you. Here's a video all about how to measure your necklace correctly is ensure you don't make the same mistake I did.

Tools
The tools you will need to make this necklace are as follows:
- Chain Nose Pliers x 2 pairs (New Zealand / US)
- Xuron Flush Cutters (New Zealand / US)
- Magical Crimping Tool (New Zealand / US); or
- Crimping plier (New Zealand / US)
Note: if you use standard crimping pliers you may want to use a crimp cover (New Zealand / US).
8 Strand Pearl Necklace

I wanted this necklace to be over the top – pearls, chains, beads. I love the look I’ve been seeing on Pinterest with lots of layers of pearls so I wanted to recreate it. I used pearls for 5 strands of the necklace and I used one other beaded chain and two different sizes to chain to make this necklace.
Materials
I have listed the materials for each strand separately (except for wire and findings). That way, if you wanted to, you could make just that strand.
Click either New Zealand or US to see the product, depending on where you live.
1 Short Strand of Pearls
- Pearlised Glass Pearl 6mm - Peach x83 (New Zealand / Similar White Pearl US)
2 Small Plain Chain
- Flat Oval Cable Chain 6mm x 4mm x 1mm – Silver x 52cm (New Zealand / Similar US)
3 Small Pearl Chain
- Pearlized Glass Pearls 8mm – Peach x34 (New Zealand / Similar White Pearls US)
4 Glass Beaded Chain
- Electroplated Glass Ball 6mm x34 (New Zealand / Similar produce US)
- Jump Rings Round 22 Gauge 4mm – Black x33 (New Zealand / Similar produce US)
5 Large Pearl Chain
- Pearlised Glass Pearl 12mm – Peach x31 (New Zealand / Similar White Pearls US)
6 Long Strand of Pearls
- Pearlised Glass Pearl 6mm - Peach x119 (New Zealand / Similar White Pearl US)
7 Large Plain Chain
- Oval Aluminum Cable Chain 9mm x 7.5mm x2mm x 74cm (New Zealand / Similar product US)
8 Large Pearl Dangle Chain
- Oval Aluminum Cable Chain 9mm x 7.5mm x2mm x 86cm (New Zealand / Similar product US)
- Pearlised Glass Pearl 12mm – Peach x27 (New Zealand / Similar White Pearls US)
Findings and Wire
- Alloy Toggle Clasp with Flower Detail 18mm x 14.5mm (New Zealand / Similar product US)
- Headpins Plated 5cm Silver x27 (New Zealand / US)
- Beadsmith German Style Wire 22 Gauge – Silver x approximately 5m (New Zealand / Similar Product US)
- Jump Rings Round 6mm x 1.1mm – Silver x18 (New Zealand / US)
- Tibetan Style Rectangle 10-Strand Link Reducer Bar Connector 28mm x 9mm x 2.5mm x2 (New Zealand / Similar product US)
Tools
The tools you will need to make all of this necklace are as follows:
- Chain Nose Pliers x 2 pairs (New Zealand / US)
- Xuron Flush Cutters (New Zealand / US)
- Round Nose Pliers (if making loops manually) (New Zealand / US)
- 1-Step Looper 2.25mm (New Zealand / US)
- Magical Crimping Tool (New Zealand / US); or
- Crimping plier (New Zealand / US)
I used the 1-Step Looper to make the loops but you could use round nose pliers instead.
Instructions
I recommend that you watch the video which gives you step by step instructions on how to make up each strand. You will have eight strands as shown below.

Join them to the connector as shown in the video.
Add the clasp.
Useful Techniques
In this video I used the follow techniques:
- All About Jump Rings
- How to Make Perfect Loops
- How to Restring a Vintage Necklace
- 3 Ways to Crimp
- Hide Ugly Crimps (in case you don’t have a Magical Crimping Tool)
- Magical Crimping Pliers
- How to use the 1 Step Looper
- How the 1 Step Looper changed my life
- Ensure Your Bracelet Fits Like A Glove
I’m Wearing

In the video I am wearing my Rainy Day necklace.

I am also wearing my layering necklace.

I’m also wearing a pair of earrings that I made in a livestream with my Jewel Box group.
Please consider joining the group. You will have access to livestreams every month and, depending on the membership level you choose, a zoom call with me as well. You’ll also get weekly vlogs and updates, as well as a supportive community who helps each other out. You can post pictures of your work and ask for advice.
I always get asked about my lilac jacket which came from Portmans but is no longer available. Here are a few similar ones I found on Amazon.
- TYQQU Women’s Casual Long Sleeve Open Front Blazer Lapel Collar Cardigan Plus Size Work Jackets
- Hdieso Womens Solid Color Casual Long Sleeve Lapel Button Blazer Jacket
If you enjoyed this tutorial and then remember to pin this for later.


Hi Michelle, Thank you for your comment. I’m so sorry to hear about your situation. I’m glad that you are finding solace in jewellery making. You can contact me at carol@affordablejewellerysupplies.co.nz. You also might like to join my membership group. You can chat virtually with me there any time. There are also lots of members that are so caring towards each other. I think you would love it. Wire gauge is a tricky one. I generally use 20 or 22 gauge for most things. If I’m wire wrapping I will use a 24-26 gauge. The higher the number the thinner the wire.
Hi Carol, I just started watching your channel and let me tell you out of all the channels I have seen, I love watching you the best because you are so clear and concise when explaining things. I just took up jewelry making as a hobby. I have always loved working with beads and things but never really got into it until now. I recently, in November, lost my 38yr old son and I will be losing my 36 yr old daughter soon as she has Stage 4 terminal aggressive Paraganglioma cancer. I have engulfed myself into things that are keeping my busy from my sadness. The two children are the only ones That were born, I lost two and one soon. I am not sure why this is happening but what I do know that I find jewelry making is a great way to destress and escape to a happy place. You make it look very easy, however, I know this will not be as easy as you make it but II look forward to making some of the pieces soon. I have so many questions, do you have an email? Like how do you know when to use tiger tail wire compared to other wire? Or When to you 24 gauge vs any other gauges etc. So many questions as we go along. Love the videos. You are so good at teaching and so thankful I found you. Take care Carol, from CDA ID Michelle Martens