
ULTIMATE Stretch Bracelet knot + 6 Tips to make it BETTER!
Today I’m going to be talking about that special knot we use to tie a stretch bracelet. Every time I make a stretch bracelet, I always get comments like, “I can’t see the knot” or “I can’t see what you’re doing” so in todays’ tutorial, I’m going to be tying that knot on a giant scale so that you can see exactly what I’m up to. As well, I’m sharing six of my best tips for making a good strong stretch bracelet.

When I’ve shown you how to tie the knot, I’ll be making a really simple but lovely stretch bracelet to show you how it all comes together. For this one, I really do suggest you watch the video but I will share the step-by-step instructions as well.
Instructions
Watch the video or read the instructions below.
Making the Bracelet
Cut your elastic at least 4 times longer than your wrist and pre-stretch it (see Tip 1 below).
Fold the elastic in half.
Place the bead stopper on the cut end. Thread either a Big Eye Needle or Collapsible Needle, and then thread on your beads.
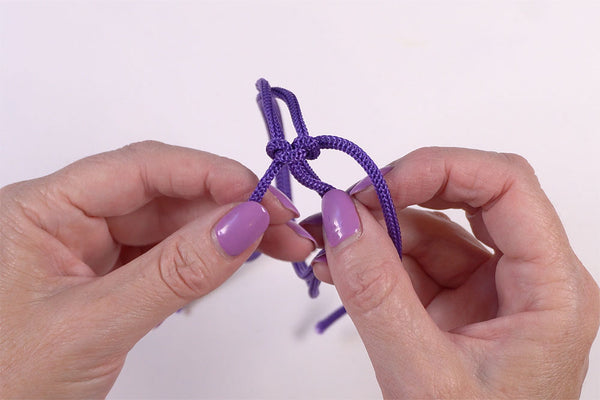
Tying the Knot
This is the most important step.
I chose to use cord so that you could see exactly what I was doing but you’ll have to imagine I have beads threaded on – I couldn’t find any that would fit this could through the holes twice!
Remove the bead stopper and needle, being careful that the beads don’t fall off.
Thread the cut ends through the loop and pull everything up nice and tight. Check that the bracelet is the correct size (try it on).

Next, split the elastic so that you have one of the cut ends on one side and the other one on the other side.

Thread each end of the elastic through the centre of the bracelet, leaving it nice and loose, crossing the ends.

Tie a knot by looping one end through the opposite side loop. The knot will appear on the underside.

Pull it tight.
Tie a knot on the top.

Pull it tight.
Thread the ends back through the centre of the bracelet, cross the threads and tie a knot (on the underside).

Pull it tight.
Bring the threads to the top and tie another knot.

Pull it all tight.
Now repeat the last two steps once more. This will result in a total of six knots.

I know that this looks really large and chunky done with the cord, but believe me, this will all just disappear inside your beads.
You can leave the knot like this but if you want to make it extra secure you can thread one of the ends through two of the beads and tie another two knots (in this photo, I’ve just left a space where the beads would be).

Take the other end and repeat, threading through the beads in the opposite direction.

Here are some diagrams which I hope make it even clearer.
Step 1 - Put the Ends Through the Loop

Step 2 - Through the Bracelet and Tie

Step 3 - Tie the Knot on Top

Step 4 - Repeat Two More Times
Extra Security
I generally don’t do this and I have never had a knot tied like this come undone but if you still feel insecure, you can add a dab of glue to each of the knots and pop them inside one of the beads. Here’s how the knot looks on a real bracelet. When the beads are together and the bracelet is not stretched, you won’t even be able to find the knot.
My Best Tips
Tip Number 1 - Pre-stretch the Elastic
Measure around your wrist and cut the elastic about four times that length. For example, my write measures about 16cm (6.3”) so I would cut my elastic at least 64cm (25”). This just gives you plenty to work with. As you get more experienced, you can probably cut this down a little. Working in sections, stretch the length of the elastic.
Tip Number 2 – Always Use Two Threads
Fold the elastic in half so that you have a loop on one end and the two cut ends together.
Tip Number 3 – Add an Extra Bead
When you measure your wrist and you think you have the correct size, always add an extra bead or two. Before tying the knot, after you’ve slipped the ends through the loop, try the bracelet on to check the size. If necessary, add another bead.
Tip Number 4 – Tie the Knot
Tie the knot in the manner described above so that it will be super strong.
Tip Number 5 – Thread the Ends Back Through The Beads
After you’ve tied the knot, thread one strand of the elastic back through a couple of the beads going in one direction. Tie another knot. Repeat for the other end, going back through a couple of beads in the opposite direction and tie.
Tip Number 6 – Add Glue
If you feel insecure about your knot, add a dab of glue to each of the knots and pop them inside a bead.
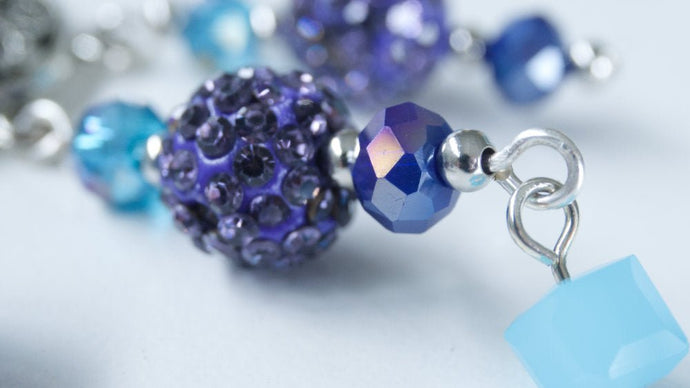
Here’s the Project
Materials
Here’s what you will need to make this bracelet:
- Czech Crystal Vega Glass Firepolished Faceted Round 8mm x17
- 3mm Black Metal Balls x 17
- 0.6mm Elastic Wire x 50cm
- Collapsible Eye Needle
- Bead Stopper
- Scissors
Watch the YouTube video see how you can get 10% Off any of the above products we have in stock?
Putting it into Practice
Using the method describe in my tips above, thread on 17 of each of the beads, alternatively.

Test the bracelet to make sure that it fits you.

Tie the knot as described in the instructions above.
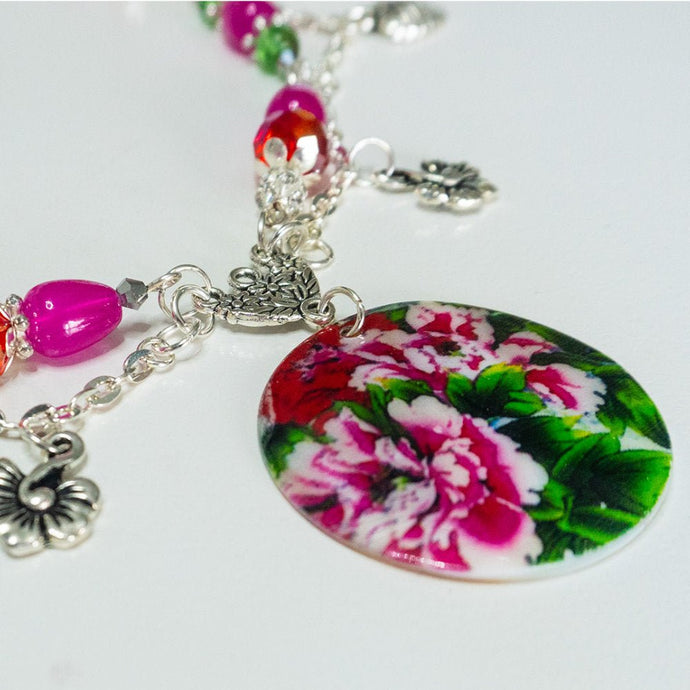
I just love this colour combination – what do you think?

Jewellery I’m Wearing
Bohemian Necklace

Double Strand Rose Quartz Bracelet

Moody Triple Strand Stretch Bracelet

Butterflies in the Garden Stretch Bracelet

If you enjoyed this tutorial, leave me a comment below and also share, share, share.


@sroscoe8@aol.com, Thanks for your question Samantha. You fold the elastic in half and then thread the loop onto your needle so there’s no need to cut it. I think what you might have done is thread the needle onto one strand of elastic and then looped it so that your needle ends up inside the loop. I’ve attached a picture here so you can see that I threaded the loop through the needle, not the individual strands, therefore the needle is easy to remove. I hope that helps. Let me know if you need any further assistance.
How can i remove the needle w/o cutting it or the elastic?