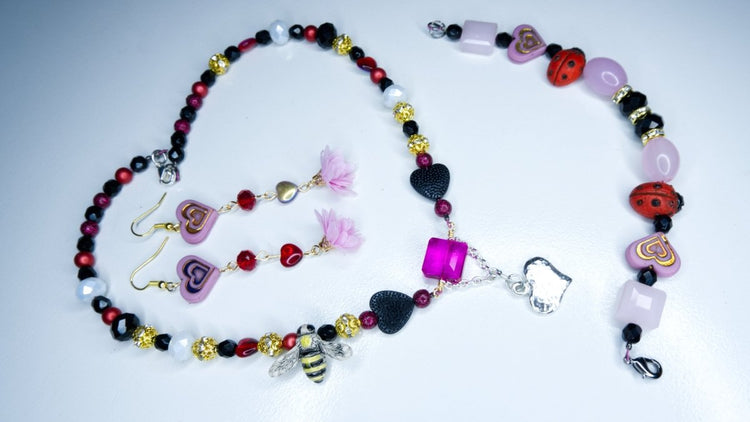
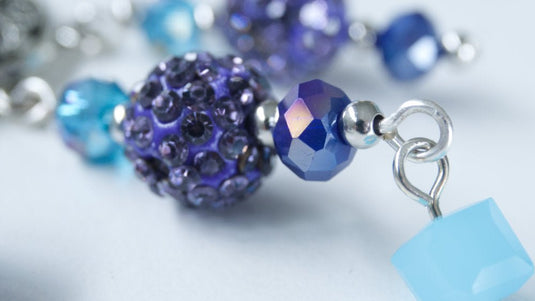
I’m always asked if I can show how I design a piece of jewellery so today I’m going to be designing three pieces of jewellery from the beads in the latest Soft Flex Design Challenge Kit. I will take you along and show you my process (it’s a long one) and how I come up with the designs that I do. The kit is called Lovebug Design Challenge Kit.

I opened the package on camera and challenged myself to make some pieces of jewellery using mainly the supplies inside the kit. I succeeded in the most part. I did need a few little extras like ear hooks, jump rings and clasps, etc but I was pretty pleased with the results.
Materials
- Love Bug Beading Design Challenge Kit
- 6x1mm Silver Jump Rings x4 (New Zealand / US)
- Flat Oval Cable Chain 5mm x 3.3mm x 0.9mm – 2x 2cm pieces (New Zealand / Similar Product US)
- Silver Plated 304 Stainless Steel Lobster Claw Clasp 12mm x 7mm x 3.5mm, x1 (New Zealand / US)
- Gunmetal Plated Brass Wire Guardian 4.5mm x 4mm x 1mm, x3 (New Zealand / US)
- Gold Plated 22 Gauge Half Hard German Style Wire, x20cm (New Zealand / Similar Product US)
- Gold Plated Earhooks Twist 19mm x 16mm, x 1 pair (New Zealand / US)
Tools
- Xuron Flush Cutters (New Zealand / US)
- Chain Nose Pliers x 2 pairs (New Zealand / US)
- Round Nose Pliers (New Zealand / US)
- Magical Crimping Tool (New Zealand / US)
- 1-Step Looper 2.25mm (New Zealand / US)
Jewellery I’m Wearing
In this week’s tutorial I’m wearing my blue teardrop necklace.
I am also wearing a couple of stretch bracelets.
And one of the 5 bracelets I made in this video.
Useful Techniques
In this video I used the following techniques:
- Wire Wrapped Loops
- How to Make Perfect Loops
- 3 Ways to Crimp
- Magical Crimping Pliers
- How to Use a Wire Guardian
- Restring a Vintage Necklace
- All About Jump Rings
- 1 Step Looper
-
Attaching a clasp using a jump ring (Pearl Choker)

REMEMBER TO PIN THIS FOR LATER!!
⇓ PIN THIS ⇓


